Damiles Blog. A computer vision, OpenCV and IT technology blog.
-
Tfrecords and TFRecordDataset. Your friends to performance data access on Google Cloud ML
Read more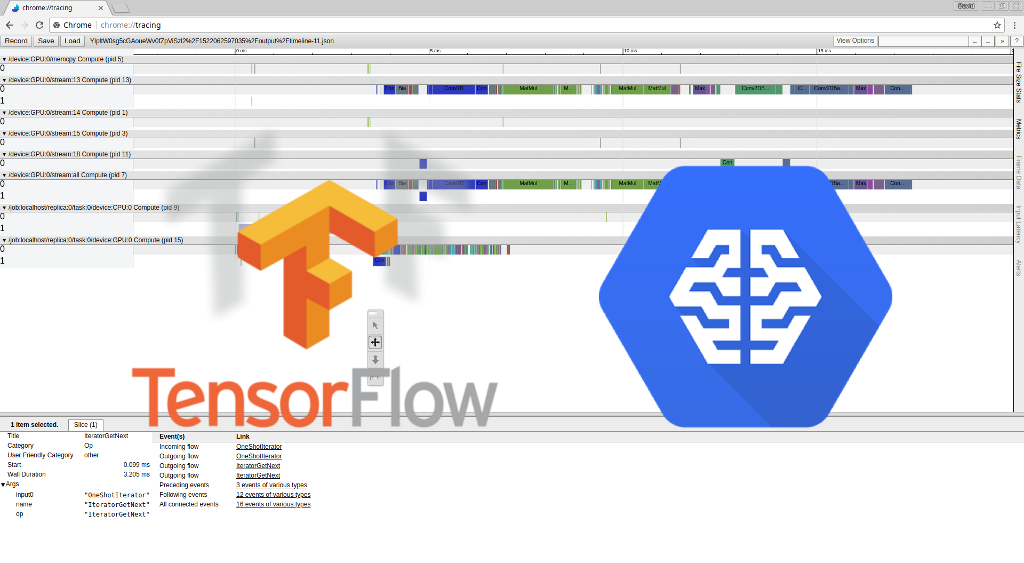
-
Interpolation basic algorithms
It’s ineresting know how works the interpolation algorithms applied to images, in this article we are going to explore basically the most common interpolation algorithms that are: Nearest, bilinear and bicubic interpolations and their formulas.
Read more -
Mail Sent error 550 5.1.1 Recipient address rejected: User unknown in virtual mailbox table
I have some webservers and hundred of domains, and the other day i create 4 domains for a customer, and 2 of the domains have in same machine the emails, and the other 2 in thirth party servers as Gmail o Yahoo, and when user send email from one of 2 servers to other externals server get this error:
Read more -
Mastering OpenCV with Practical Computer Vision Projects
Announcing the new "Mastering OpenCV" book that I co-authored!
The book "Mastering OpenCV with Practical Computer Vision Projects" is now for sale from Packt Publishing with free shipping to many countries! Each chapter is a separate project containing step-by-step tutorials + full source-code using the latest C++ interface of OpenCV v2.4, written by 7 authors that are well-known among the OpenCV community for their blogs & open-source projects.
Read more -
Gnuplot Cookbook

I'm very happy, Gnuplot cookbook arrive to my hands. I had the pleasure to review this great book.
Read more
subscribe via RSS